How to Setup VPN on iOS: A Comprehensive Guide
The digital world is evolving at a rapid pace, and with it, the need for privacy and security online has become paramount. One of the most effective ways to achieve this is by employing a Virtual Private Network (VPN). In this article, we will guide you through the process of setup VPN iOS, ensuring that you stay protected while enjoying the convenience of your Apple device. Whether you are using an iPhone or an iPad, this detailed guide will provide you with all the necessary steps and tips to get started.
What is a VPN?
A VPN, or Virtual Private Network, creates a secure tunnel between your device and the internet, masking your IP address and encrypting your online activity. When you use a VPN, your internet traffic is routed through a secure server, helping to keep your online presence anonymous and safe from prying eyes.
Benefits of Using a VPN on iOS
- Improved Security: A VPN encrypts your internet connection, protecting your personal data from hackers and other malicious entities.
- Access to Restricted Content: With a VPN, you can bypass geographic restrictions and access content that may not be available in your region.
- Anonymity: A VPN helps mask your IP address, allowing you to browse the internet without revealing your identity.
- Safe Public Wi-Fi Use: Using public Wi-Fi without a VPN can expose you to cyber threats. A VPN provides a layer of security.
How to Choose the Right VPN for Your iOS Device
Not all VPNs are created equal, especially when it comes to compatibility with iOS devices. Here are some factors to consider:
- Server Locations: Look for a VPN that offers a wide range of server locations to ensure you can access the content you need.
- Connection Speed: A good VPN should not slow down your internet speed significantly. Read reviews to find one that's fast.
- Privacy Policies: Ensure the VPN has a strict no-logs policy to protect your online activity from being tracked.
- Customer Support: Choose a VPN that offers 24/7 customer support for assistance when needed.
- Ease of Use: The VPN app should be user-friendly with straightforward setup instructions.
Setup VPN on iOS: Step-by-Step Guide
Now that you understand the importance of using a VPN and how to choose one, let’s dive into the detailed steps on how to setup VPN iOS.
Step 1: Choose and Download a VPN App
First, select a VPN provider that suits your needs. You can find many VPN options available on the App Store such as ZoogVPN, which is known for its reliability and performance. Here’s how to download:
- Open the App Store on your iOS device.
- Search for your chosen VPN app.
- Tap on “Get” to download and install the app.
Step 2: Register or Sign In
After installation, open the VPN app. You will typically be prompted to either log in or create a new account:
- If you already have an account, enter your credentials and log in.
- If you're new, you may need to sign up and choose a subscription plan that fits your needs.
Step 3: Configure VPN Settings
Once you are logged in, navigate to the app’s settings where you can configure your VPN connection. This may include:
- Selecting a preferred server location
- Choosing your VPN protocol (OpenVPN, IKEv2, etc.)
- Adjusting additional options like kill switch settings and split tunneling (if available)
Step 4: Connecting to the VPN
To connect to the VPN, simply:
- Select a server from the list provided by the app.
- Tap on the “Connect” button.
- Wait for the connection to establish, which should only take a few seconds.
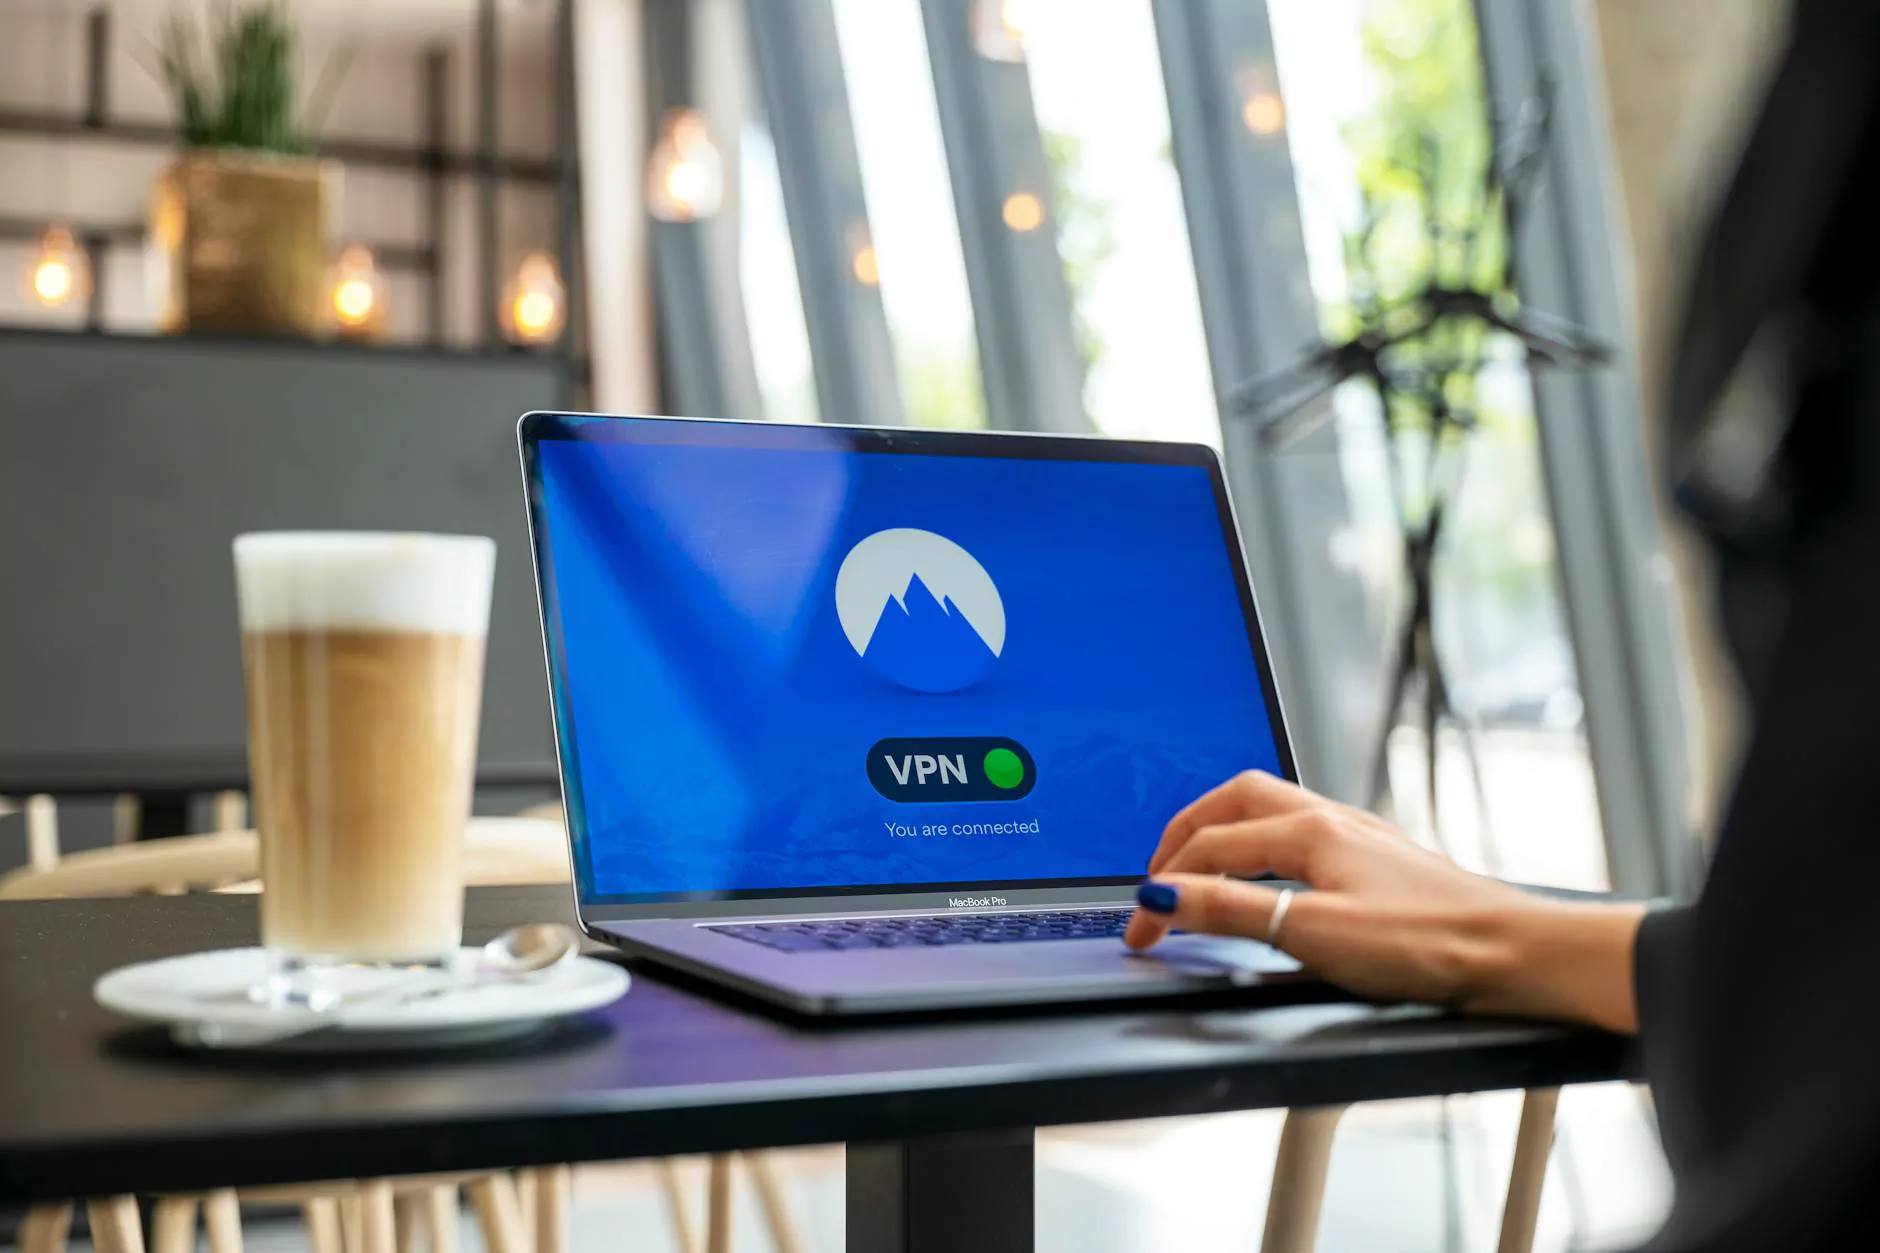
Step 5: Verify the Connection
It’s important to ensure that your VPN connection is active. You can do this by:
- Checking for a VPN icon in the status bar at the top of your screen.
- Visiting websites that display your IP address to confirm it matches your VPN’s IP address, not your original one.
Troubleshooting VPN Connection Issues on iOS
Sometimes, you may encounter issues when trying to connect your VPN on iOS. Here are some common solutions:
- Check Internet Connection: Make sure your Wi-Fi or cellular data is working properly.
- Reboot Your Device: Restarting your iPhone or iPad can often resolve connection problems.
- Update the VPN App: Ensure that the VPN app is updated to the latest version available in the App Store.
- Change Server Location: Sometimes, switching to a different server can solve connectivity problems.
- Contact Customer Support: If all else fails, reach out to your VPN provider for assistance.
Maintaining Your Privacy While Using VPN on iOS
Once your VPN setup on iOS is complete, it’s crucial to maintain your privacy and security while browsing. Here are some best practices to consider:
- Always connect to your VPN before accessing sensitive information online.
- Regularly check that your VPN is functioning correctly and your connection is secure.
- Be cautious when using public Wi-Fi, even with a VPN. Avoid logging into sensitive accounts unless absolutely necessary.
- Utilize additional privacy tools such as password managers and secure browsers.
Conclusion
Setting up a VPN on your iOS device is a straightforward process that significantly enhances your online privacy and security. By following the steps outlined in this guide, you can easily setup VPN iOS and enjoy secure internet access, unrestricted content, and protection against cyber threats.
Make sure to choose a reputable VPN provider like ZoogVPN, and always stay informed about your online safety. Remember, in today’s digital landscape, taking proactive steps to protect your online identity is not just smart—it's essential.